


Creating New Users
Rather than sharing a single login, you can create individual user accounts for everyone in your business. Each user signs in using their own business email address and can be assigned the permissions they need.
You'll need to be logged in using your primary account administrator to create or manage users.
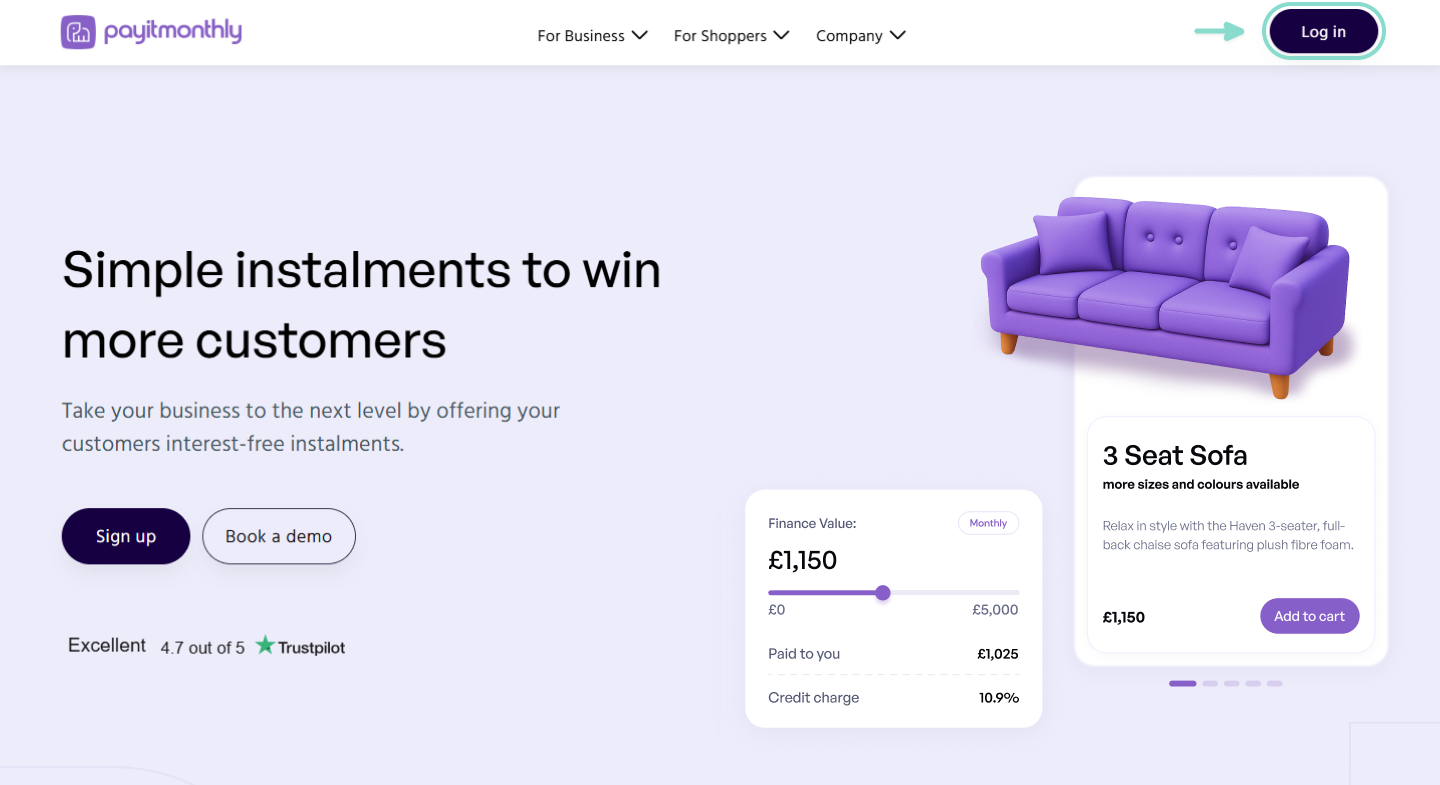
Accessing User Management
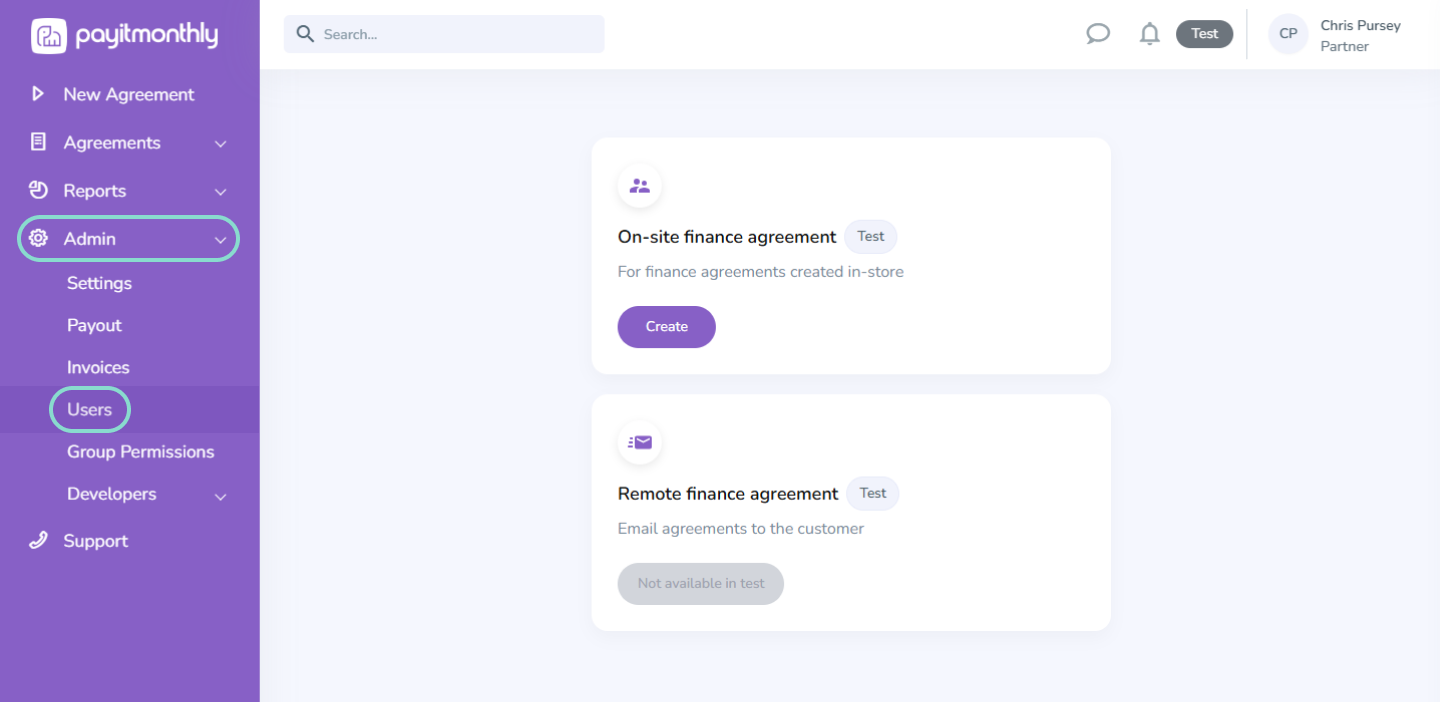
Once you've logged in, go to Admin > Users.
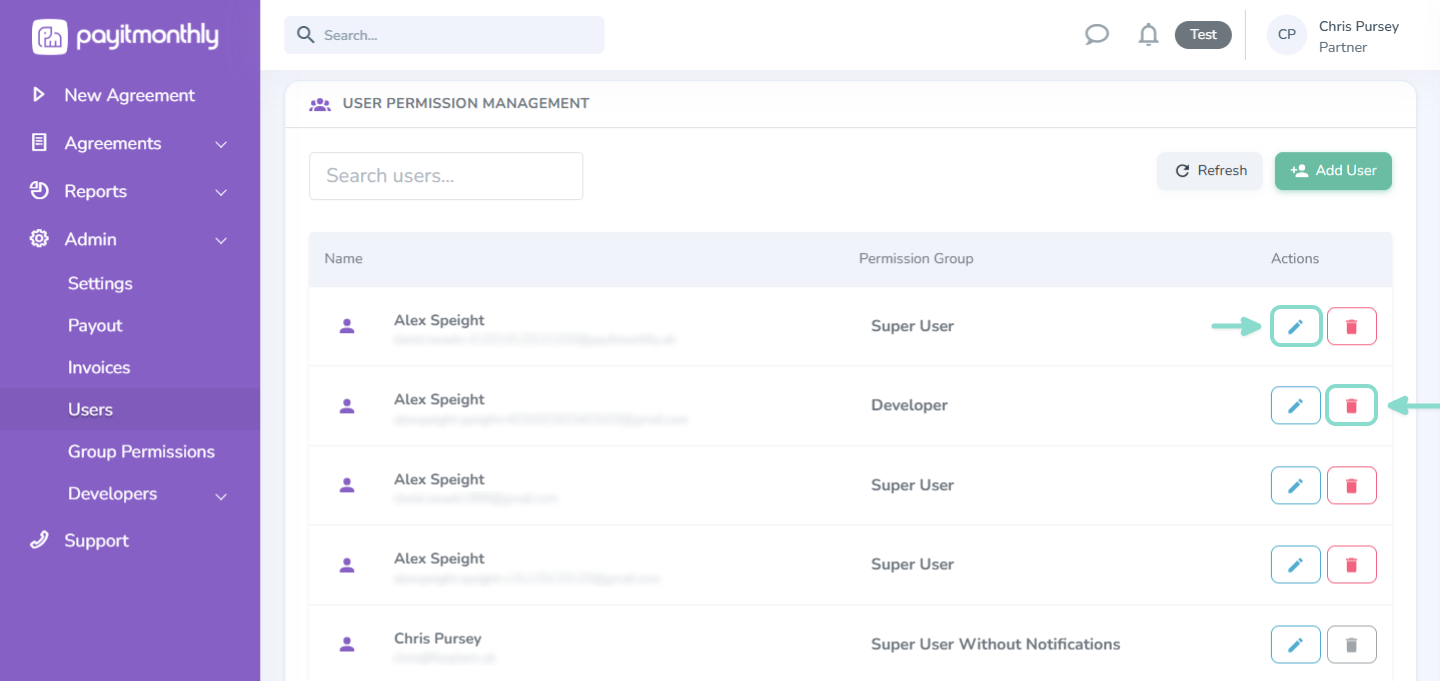
Here you'll find a list of everyone who currently has access to your PayItMonthly account, along with the tools to create, edit or remove users.
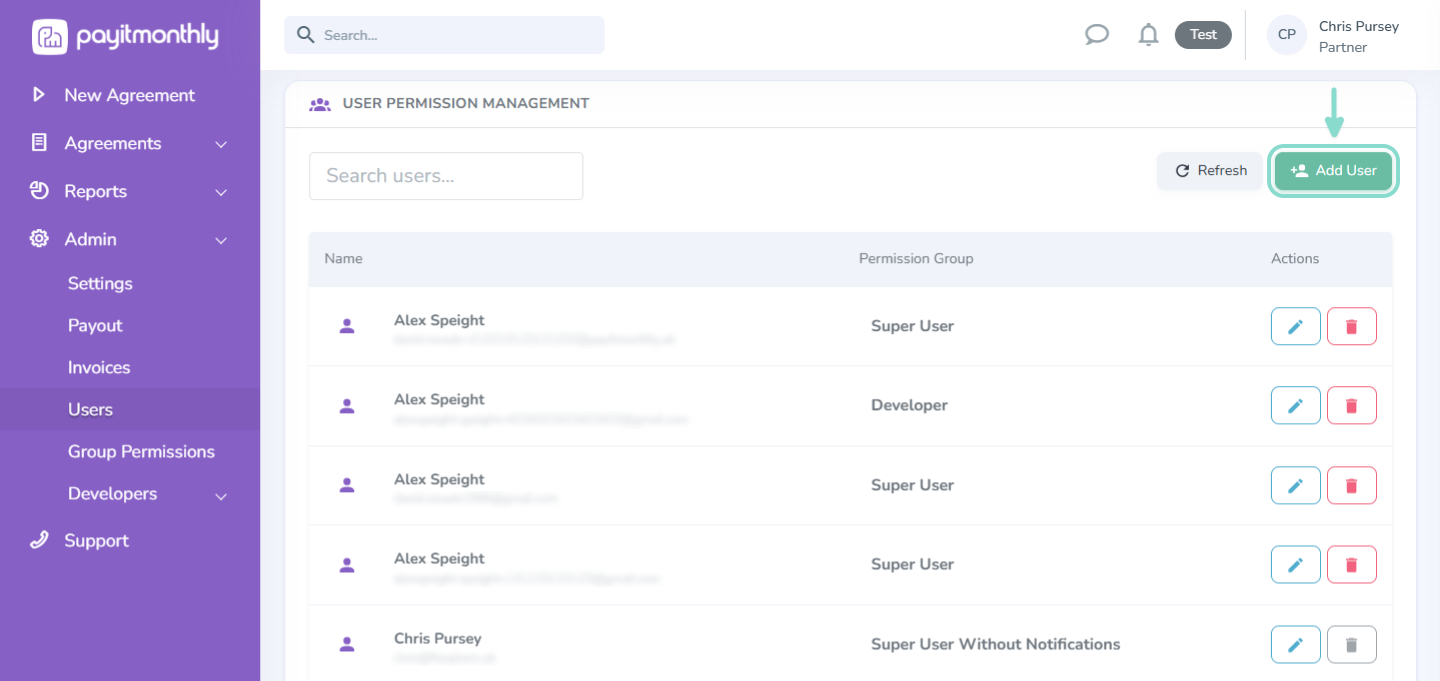
Creating a New User
Select Add User in the top-right corner of the page.
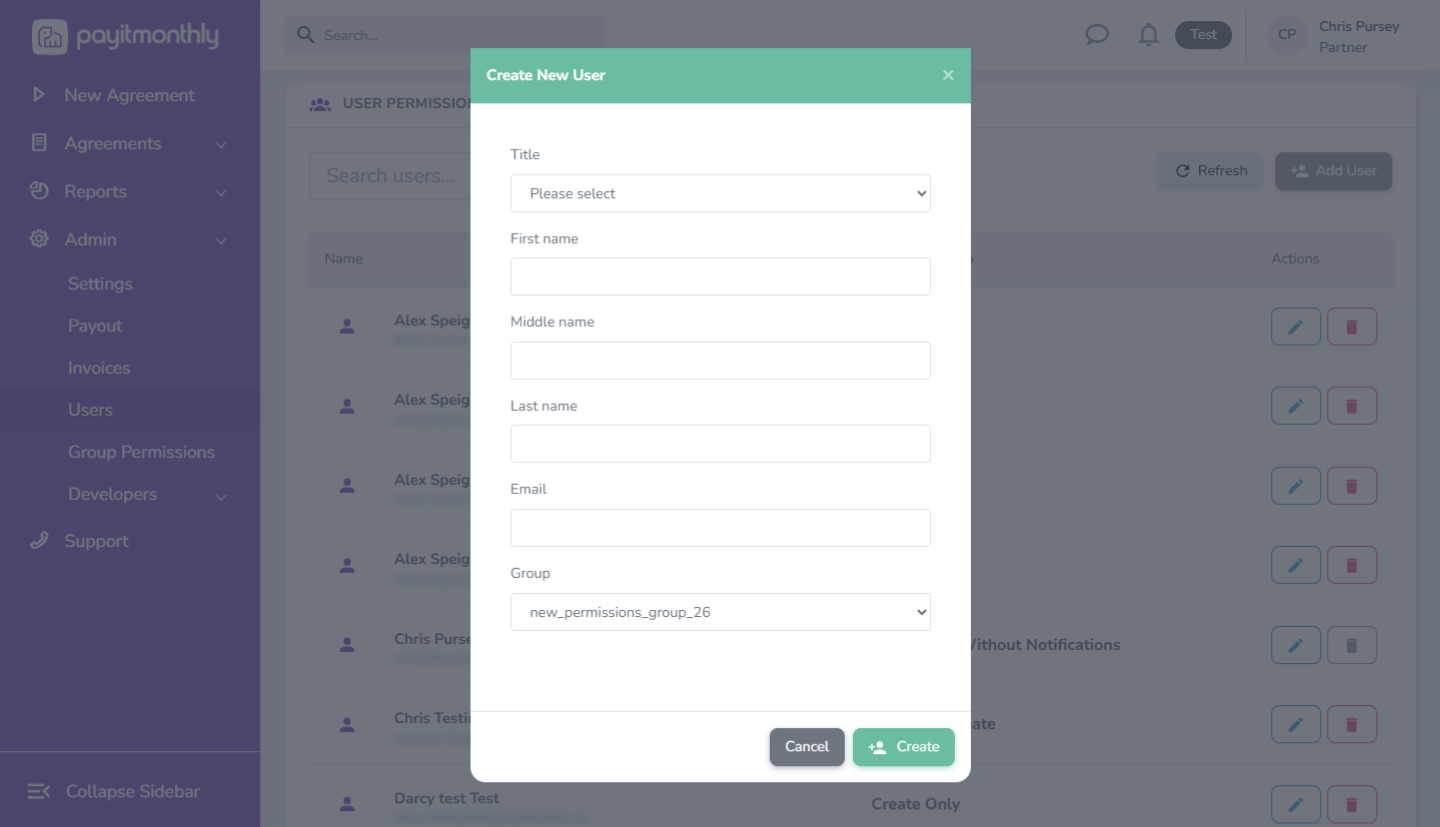
You'll be asked to enter:
If you're unsure which Permission Group to choose, see our Group Permissions guide for more information.
Once you've entered the user's details, select Create to add them to your account.
You will then be asked to enter the new user’s name, email address and finally you will be required to select which permission ‘Group’ you would like them to be a part of. You can read more about the different permission groups by going to Admin>Group Permissions.
Once you have entered all the information, you can click the green ‘Create’ button and the user will be set up.
Editing or Removing a User
If you need to update a user's details or change their Permission Group, select the Edit (pencil) icon next to their email address.
If a user no longer requires access, select the Delete (bin) icon to remove them from your account. Changes take effect immediately.
Top Tip
Give each team member their own login rather than sharing passwords. This improves security and makes it easier to manage access when people join or leave your business.
Need more help?
If you're having trouble creating users or aren't sure which Permission Group to assign, our Support Team will be happy to help.