To create a customer and an agreement select New Agreement in the top left. You can then choose whether to create an On-site finance agreement if you are with the customer or a Remote Finance agreement if you are not with the customer.

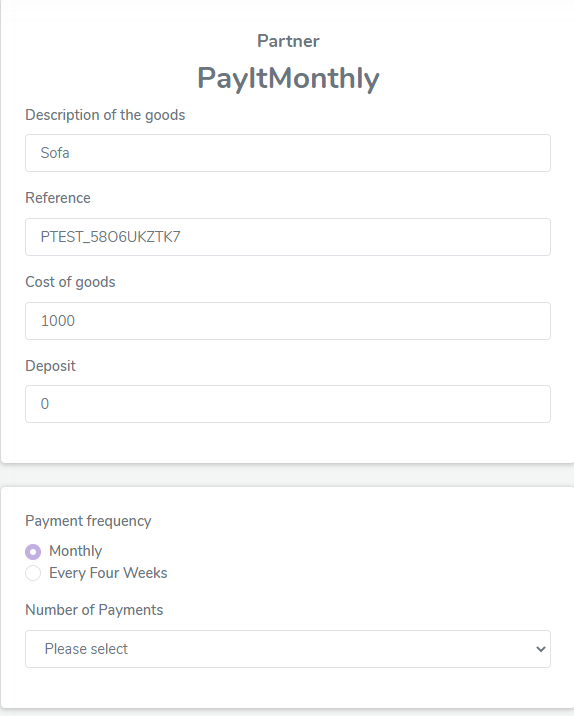
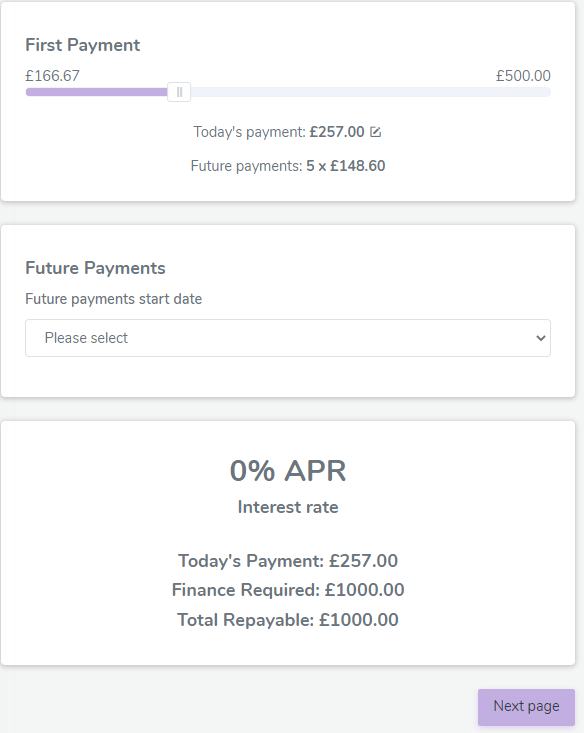
The first page will require you to enter the details of the customer's purchase. Simply enter the details in the spaces provided and the system will work out the details of the repayment amounts and you will see this further down the screen. As the customer will be paying their first installment as a part of the finance application the deposit is optional (please note that you are responsible for taking the deposit from the customer), the customer will then choose how much they wish to pay for their first instalment. Then they will select the date they would like their future payments to start, this must be at least 10 working days in the future and no more than 60 days in the future. We would recommend setting payments up after their next payday.
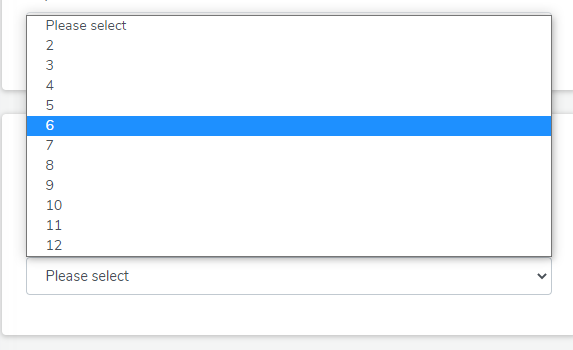
Select how many instalments will the agreement be spread over.
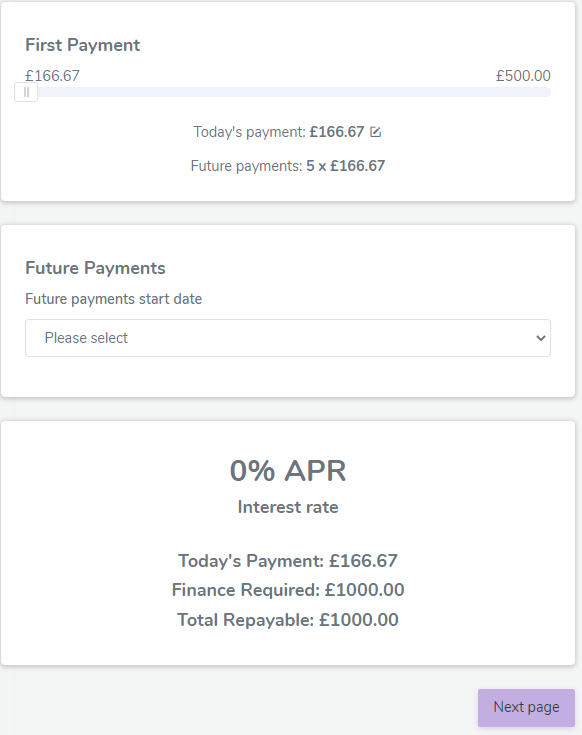
Please note first payment is NOT a deposit. Customers can pay more for their first payment and spread the remaining balance over the remaining instalments as shown below.
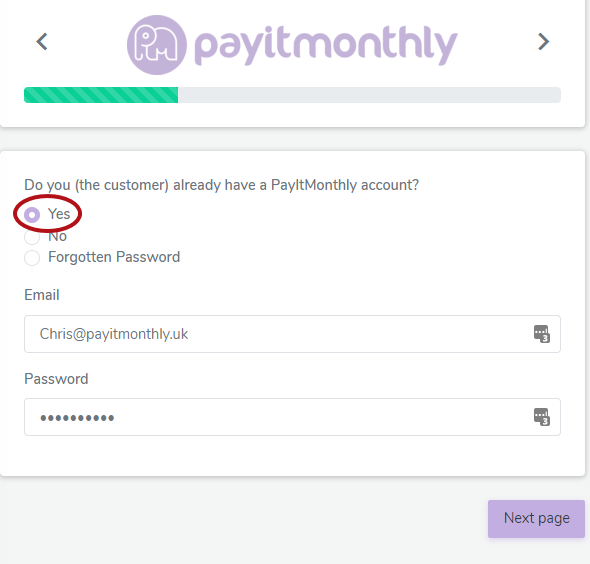
Next, you need to select whether the customer has an existing account. If they do, select yes and have the customer enter their username and password - please do not enter yours.
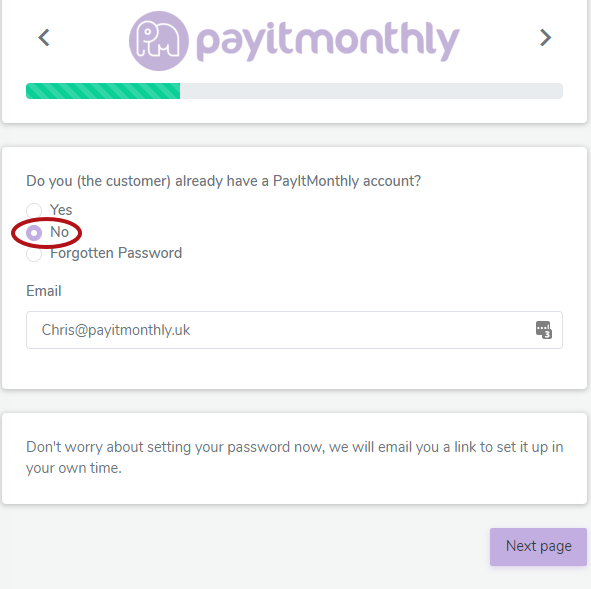
If the customer does not have an existing account, select no and enter the customer's email address, they will receive an email to set their password up in their own time.
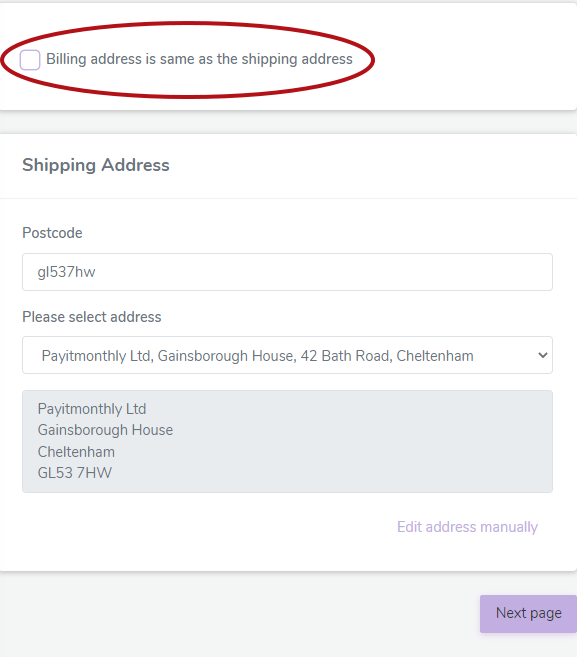
Next, the customer can enter their personal details. If they have moved into their Billing address within the past 2 years you will need to supply their previous address.
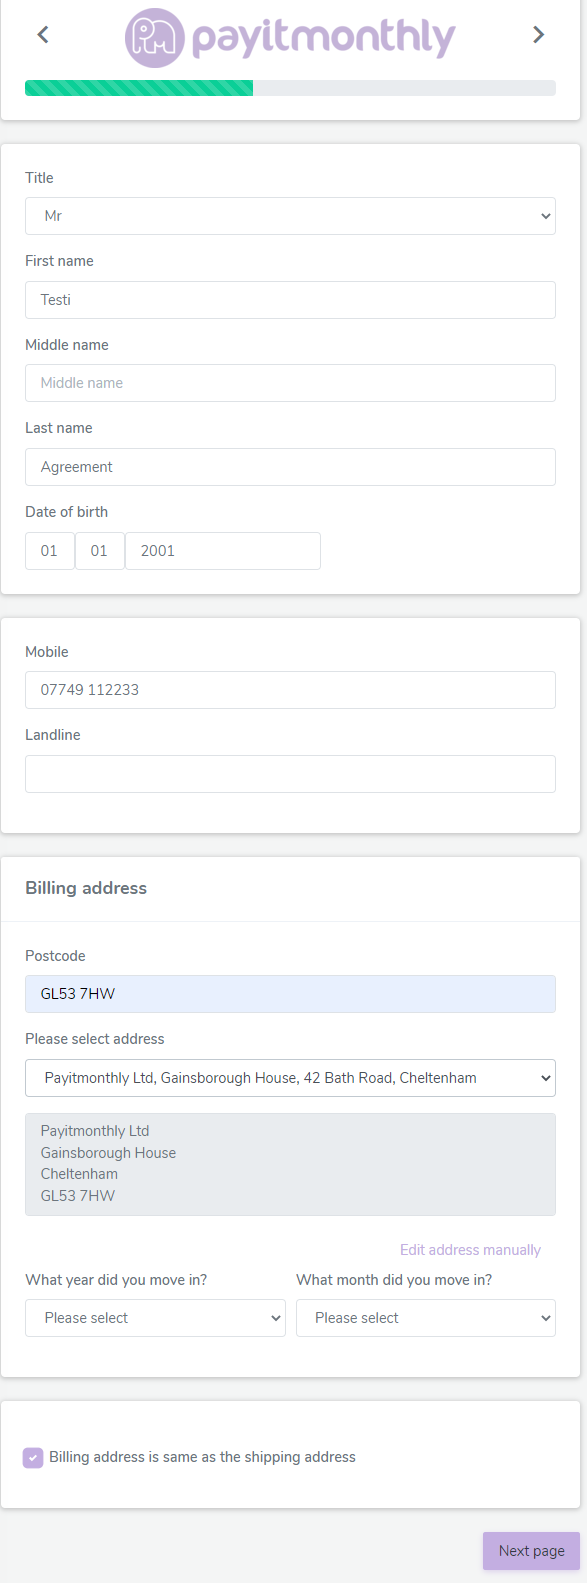
If the customer's Billing address is different to their shipping address you can uncheck the box and add a Billing address.
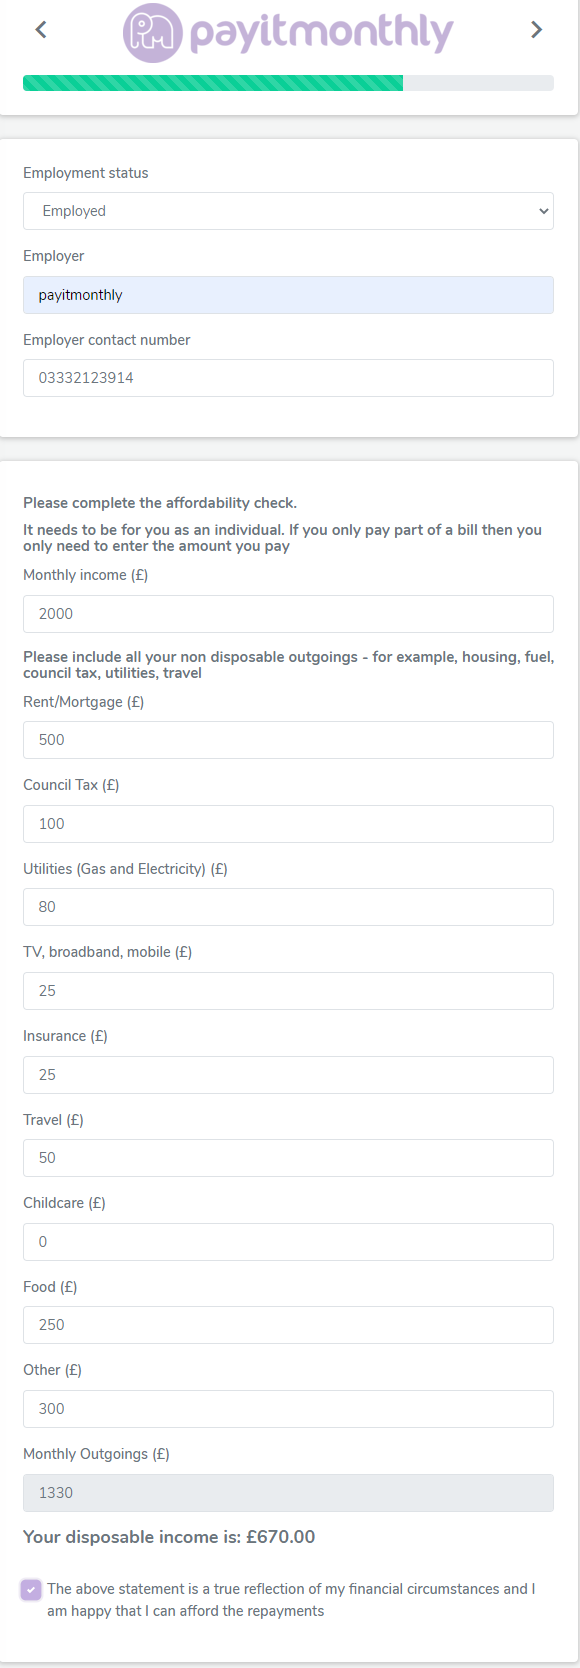
 For some of our partners, we require an expenditure form which needs to be filled out if this comes up in the agreement form.
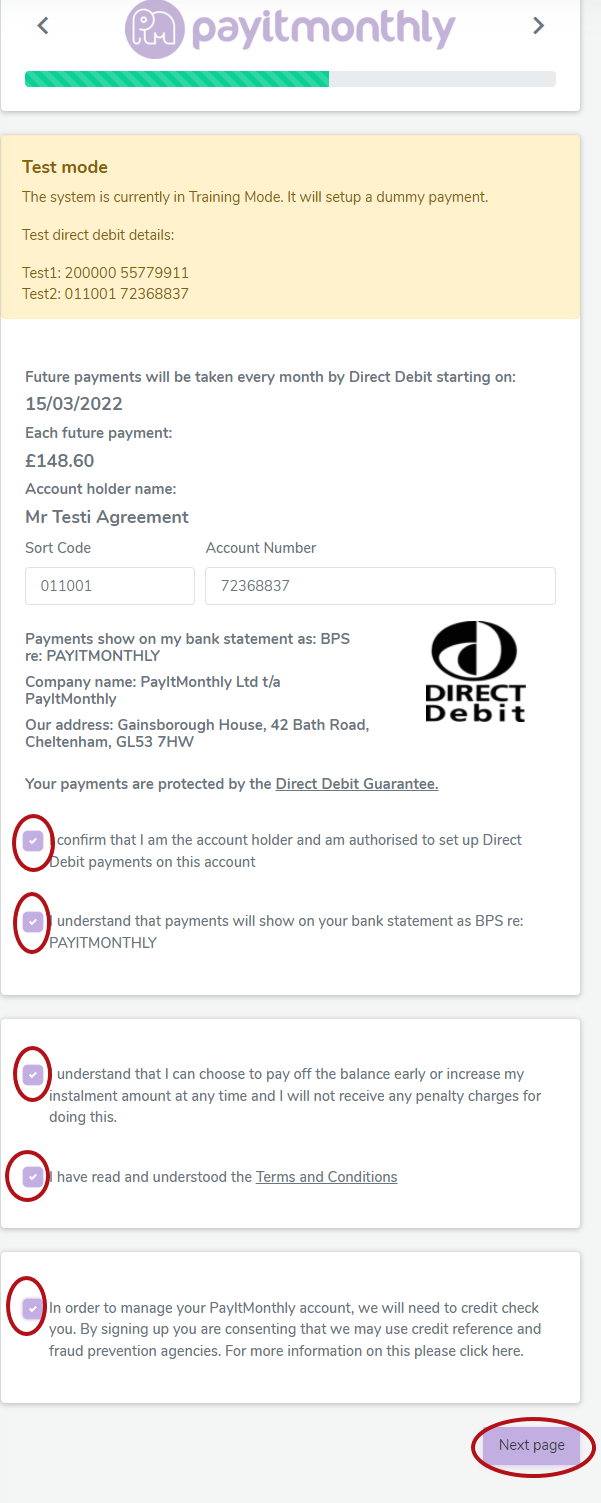
The next step is to set up the customer's direct debit and agree to the terms and conditions. The customer will need to enter their account number and sort code and then check the boxes highlighted below to confirm that they understand the terms and conditions of the contract before clicking to go to the next page.
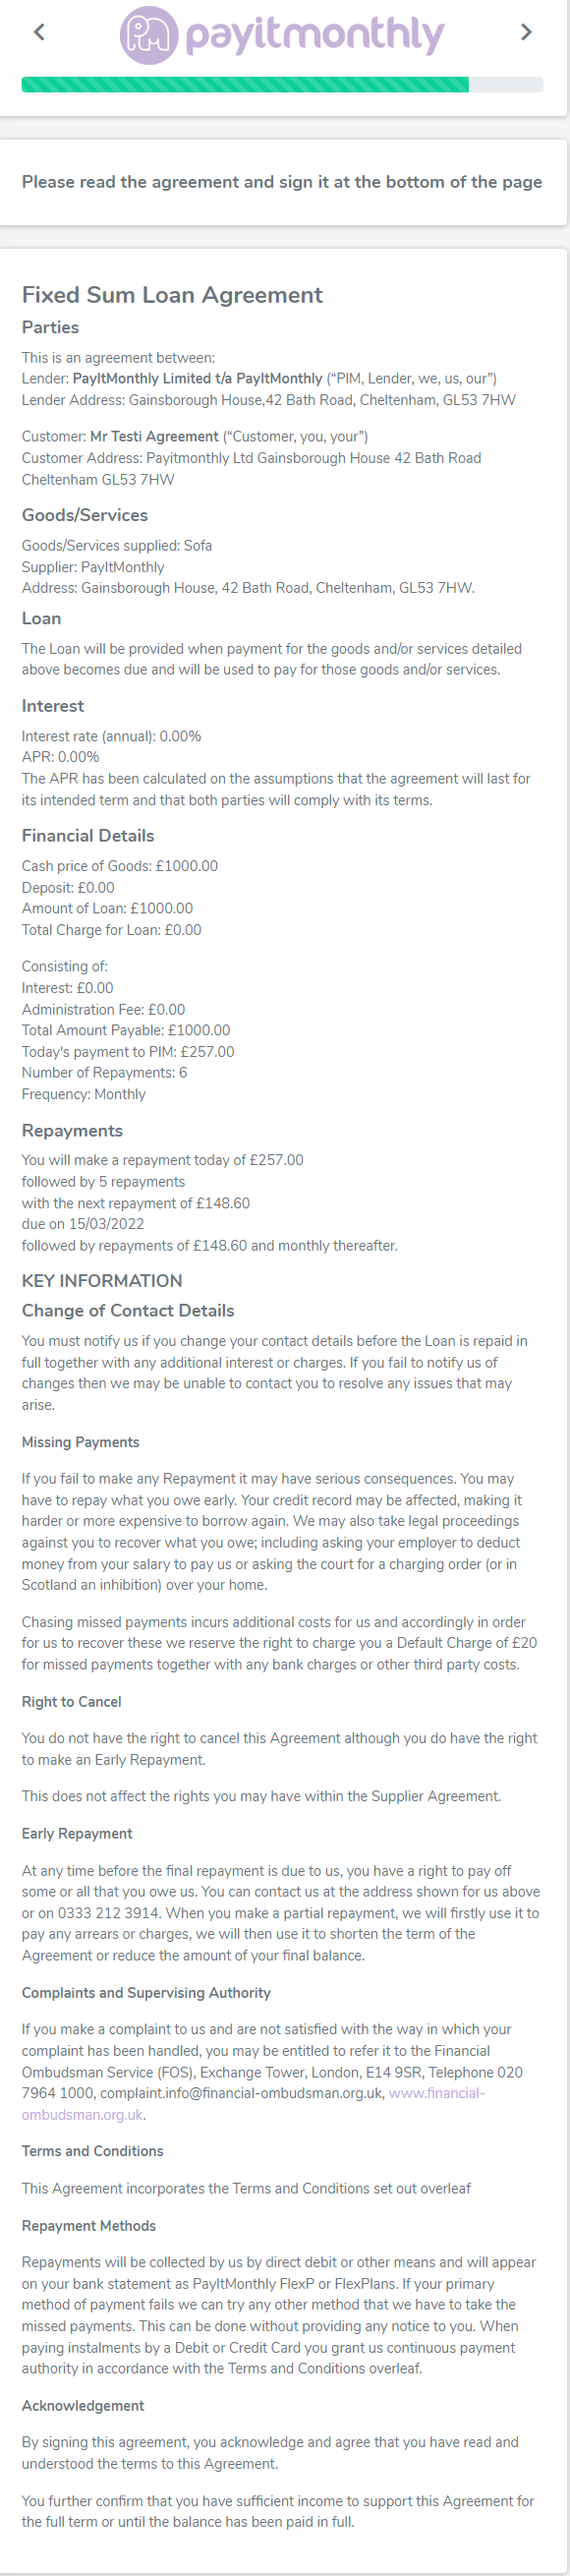
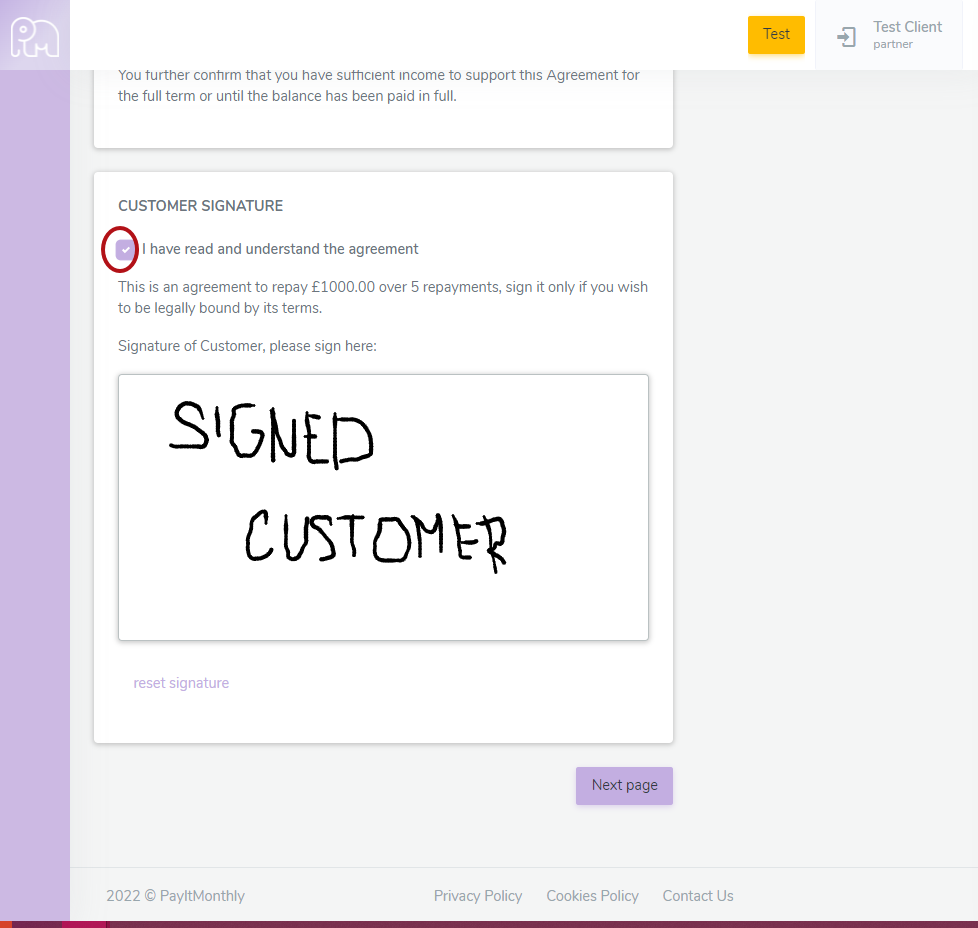
Finally, the contract is created and the terms are laid out for the customer, including the repayment schedule and the name that will appear on their bank statement. The right to cancel is an important section to highlight to the customer as it explains that they are not able to cancel.
 The customer needs to check the box confirming that they have read and understand the contract and wish to be legally bound by its terms. They then need to sign in using your touch screen or mouse.
Once the customer has signed their agreement they will be required to enter card details to make their first payment.
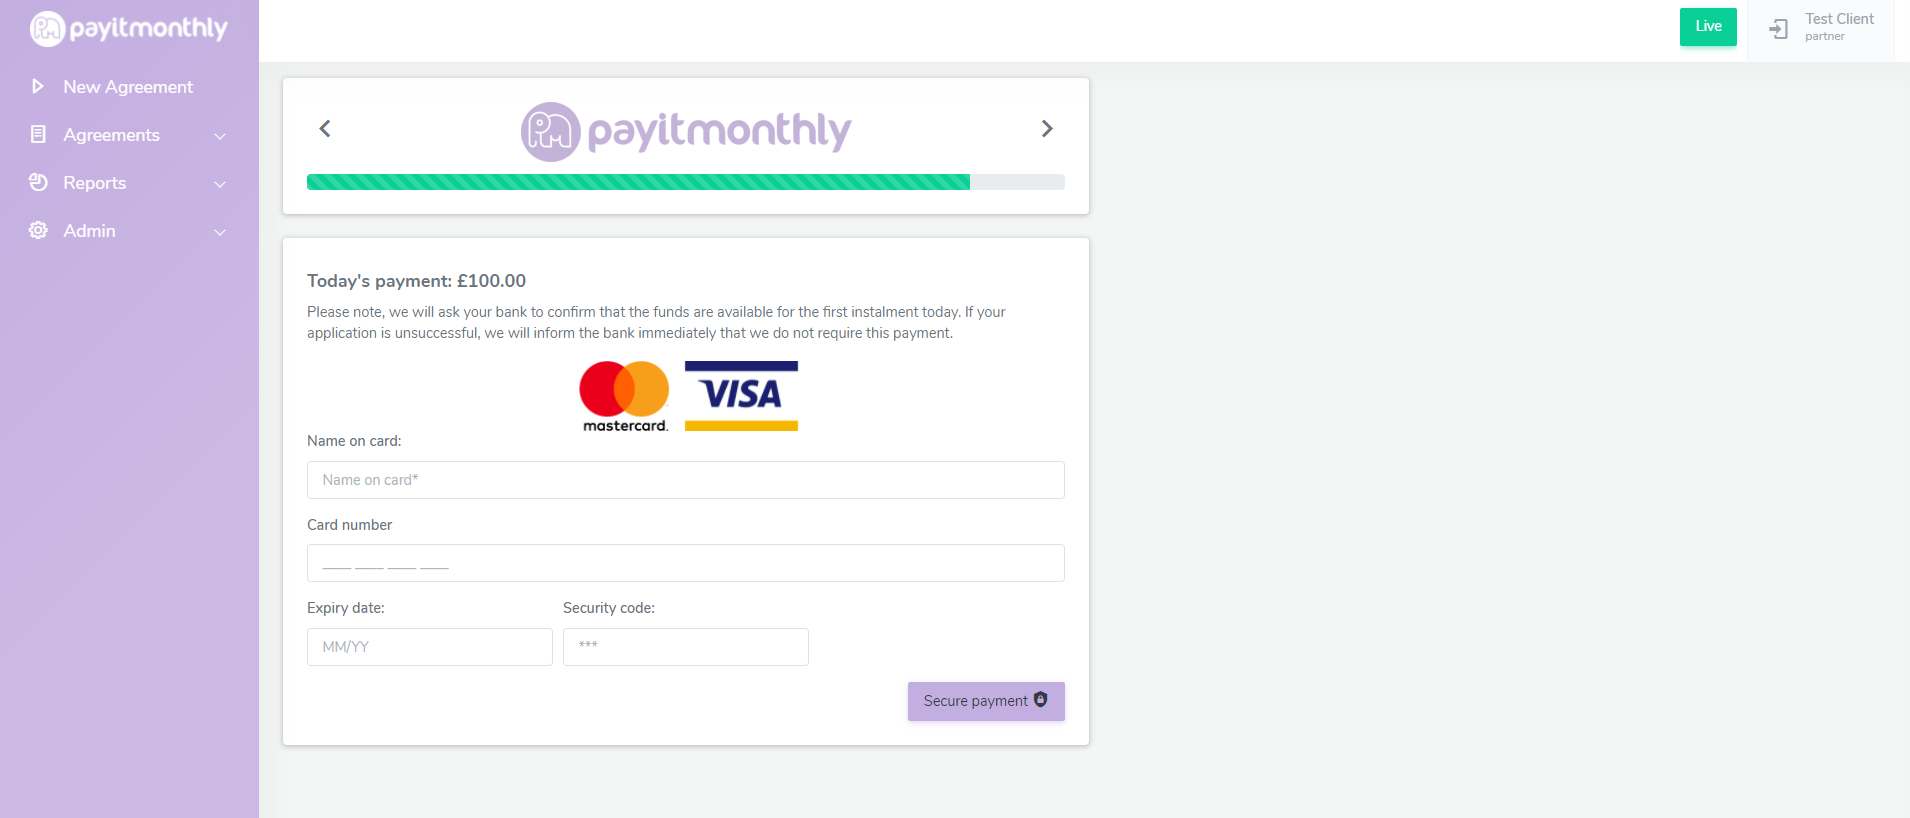
Once the customer has made the payment and selected the Secure payment button their account will be processed and you will now receive a confirmation on the screen that the account has been set up and whether the customer has been accepted for finance or not. The Agreement is now set up and the customer will receive an electronic copy of their agreement via email.